000 - Raspberry Pi Pico: How to get started | MicroPython
Table of Contents
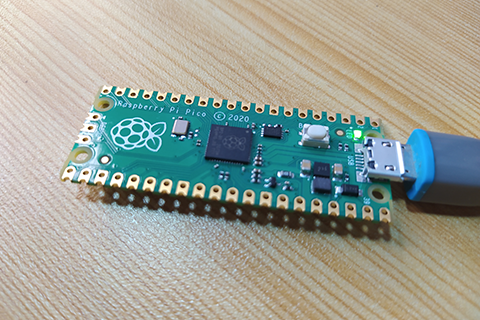
I just received my Raspberry Pi Pico which I purchased in our local online store and I am so excited to try it out the moment I received it.
And just after a minute or two, I am able to make the most popular Hello world of embedded electronics which is the blinking of the LED. So, I decided to create a tutorial on how easy it is to get started with Raspberry Pi Pico using MicroPython language. I divided this tutorial into 3 simple steps. So, without further delays, lets get started.
BILL OF MATERIALS
- Raspberry Pi Pico
3 Simple Steps to Get Started with MicroPython Using Raspberry Pi Pico
-
Configure Raspberry Pi Pico as MicroPython device.
- First, download the MicroPython firmware from the official webpage of Raspberry Pi Pico by pressing and holding the BOOTSEL button on the Pico while attaching the micro USB cable. This will make your Pico recognized as a storage device.
-
Next, open a file explorer, look for the Raspberry drive. Inside it, double click the
index.htmwhich will redirect you to the Raspberry Pi Pico official page. - Next, scroll down and look for Getting Started with MicroPython.
- Next, download the MicroPython UF2 file that will be the new firmware for the Pico.
- After the download, drag and drop it to the Raspberry drive. This time, your Pico is now configured and will function as a MicroPython device.
-
Install a Python IDE.
- First, go to Thonny.org.
- Next, download the installer according to your operating system.
- After the download, install it just like installing a normal application.
- After the installation, open Thonny.
- Next, configure Thonny for Raspberry Pi Pico by clicking the Tools menu and selecting Options.
-
Next, click the Interpreter tab and under the device, select MicroPython (Raspberry Pi Pico).
Under the Port, select the appropriate serial port for your Pico. In my case, it’s
COMM10. - Click OK.
-
Test the MicroPython firmware.
- Try typing the following in your Thonny IDE console, each line followed by pressing the ENTER key on your keyboard. First it should turn ON the onboard LED, then OFF, and lastly, turn it ON again.
from machine import Pin
led = Pin(25, Pin.OUT)
led.value(1)
led.value(0)
led.toggle()
VIDEO DEMONSTRATION
CALL TO ACTION
For any concern, write your message in the comment section.
You might also like to support my journey on Youtube by Subscribing. Click this to Subscribe to TechToTinker.
Thank you and have a good days ahead.
See you,
– George Bantique | tech.to.tinker@gmail.com
REFERENCES AND CREDITS
1. Raspberry Pi Pico official page: https://www.raspberrypi.org/documentation/pico/getting-started/
2. Thonny Python IDE: http://thonny.org/

